Add Tickets
Create and customise your ticket types with detailed settings to suit your event.
- Go to Add Tickets
- Enter ticket details such as ticket name, quantity limit and styling options.
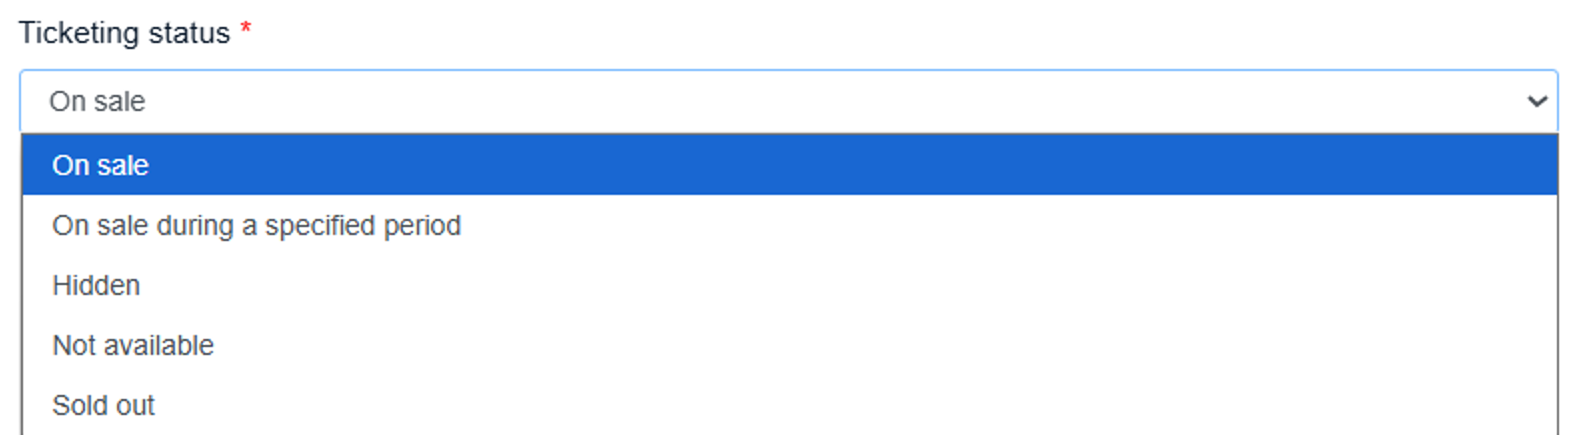
- Set the Ticketing status to control when the ticket becomes available.
- If this ticket is compulsory for registration, check Compulsory Ticket Type.
- This ticket will be automatically pre-selected when attendees reach the ticketing page.
- Ideal for events where a main admission ticket must be purchased before selecting additional options (e.g., optional workshops).
- You can also define a minimum and maximum number of tickets per order.
- Choose a Pricing Type:
- Paid – Set a fixed price.
- Free – No cost for the ticket.
- Donation – Let attendees choose their own amount.
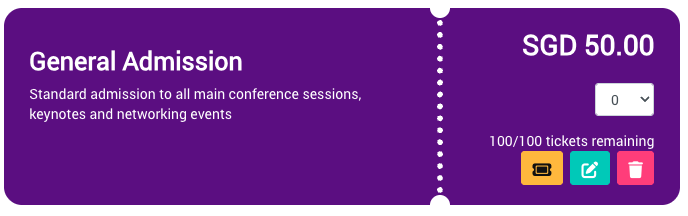
- Click Add to complete the setup and your ticket will be shown as below.

Edit or Delete Tickets
To make changes to a ticket, select the Edit icon on the ticket preview. You can update any ticket details, including name, pricing, availability, or order limits.
To remove a ticket, select the Delete icon.
Note: Once a ticket has been sold, it can no longer be deleted. To prevent further sales, edit the ticket and update the Ticketing Status to Hidden, Not Available or Sold Out instead.
Promotions
Offer discounts to your attendees through two types of promotions:
- Ticket Type Promotion (Tier 1)
Applies to specific ticket types only. Use this to offer targeted discounts (e.g., 10% off VIP tickets). - General Promotion (Tier 2)
Applies to all ticket types in an order. This promotion is calculated based on the Subtotal before checkout.
Use promotions strategically to drive early sign-ups, reward specific groups, or boost overall ticket sales.
Ticket Type Promotion (Tier 1)
Apply a promotion to specific ticket types.
To add a ticket-specific promotion:
- Click the Add Promo icon on the ticket preview.
- In the pop-up window, configure your promotion settings:
- Coupon code (optional)
- Discount type (e.g., percentage or fixed amount)
- Promotion limit
- Promotion status
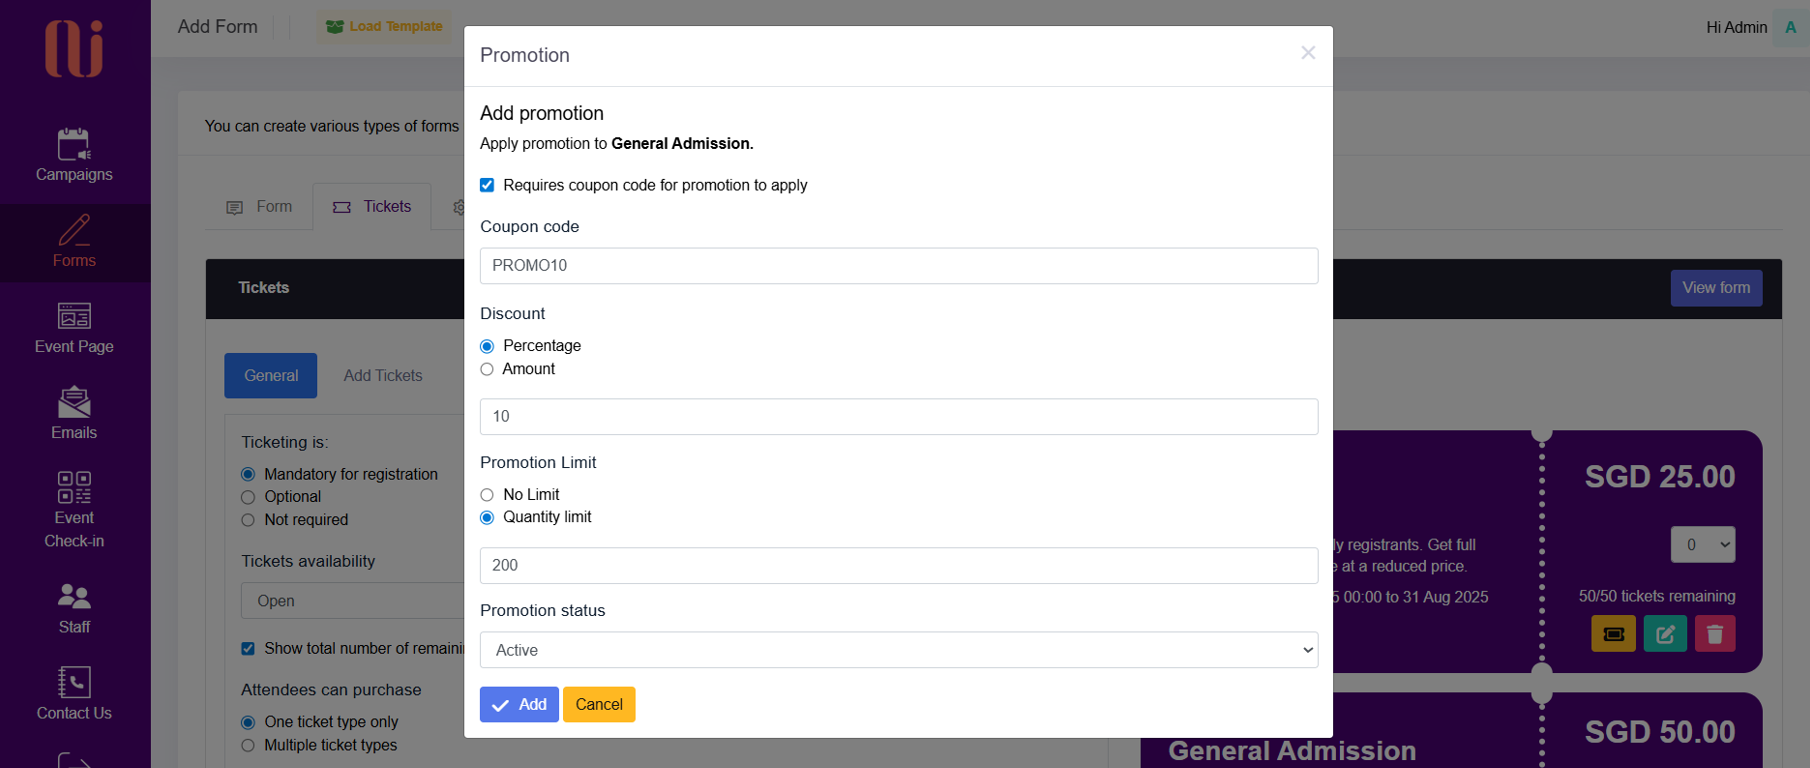
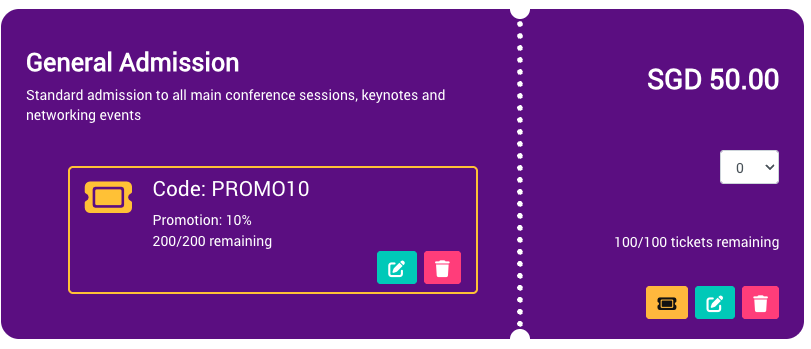
- Click Add to apply the promotion. Once saved, the promotion details will appear on the ticket preview.
Note: A promotion applied to one or more tickets in a single transaction counts as one redemption.
To update the promotion, click the Edit icon on the ticket preview.
Important: Once a coupon code has been used, it cannot be deleted. To hide or disable it, update the Promotion Status to Not Available.
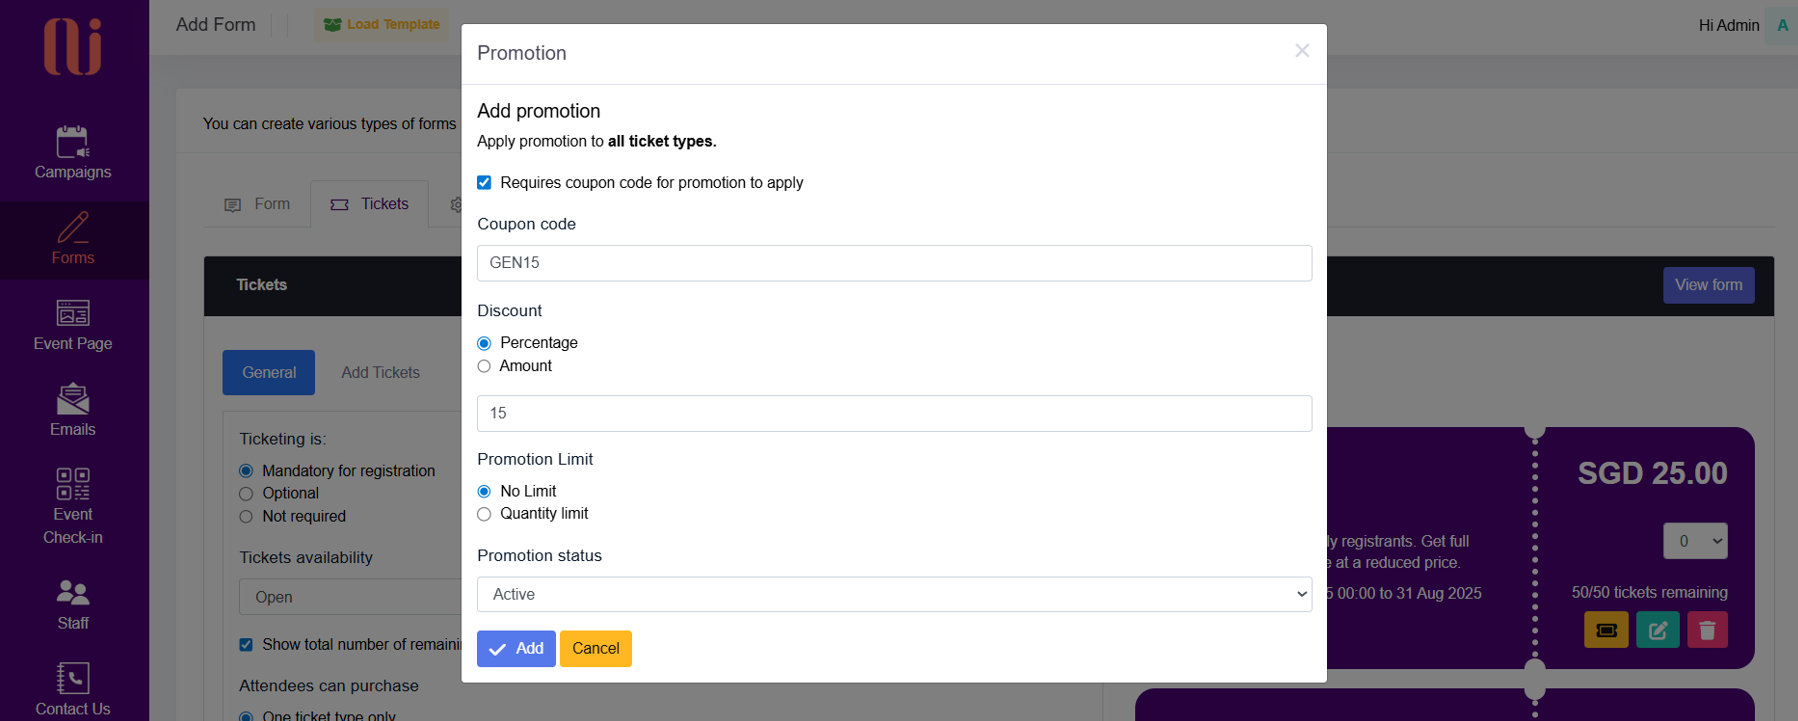
General Promotion (Tier 2)
Apply a promotion that covers all ticket types in a registration.
To set up a general promotion:
- Go to the Promotion tab.
- In the pop-up window, configure your promotion settings:
- Coupon code (optional)
- Discount type (e.g., percentage or fixed amount)
- Promotion limit
- Promotion status
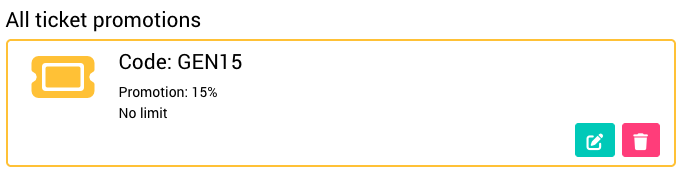
- Click Add to complete the setup. Once added, it will appear under All ticket promotions. To make changes, click the Edit icon.
Note: Like Tier 1, once a coupon code has been used, it cannot be deleted. To remove it from use, set the Promotion Status to Not Available.
Styling
Customise the look and feel of your ticketing section to match your event branding.
- Go to the Styling tab
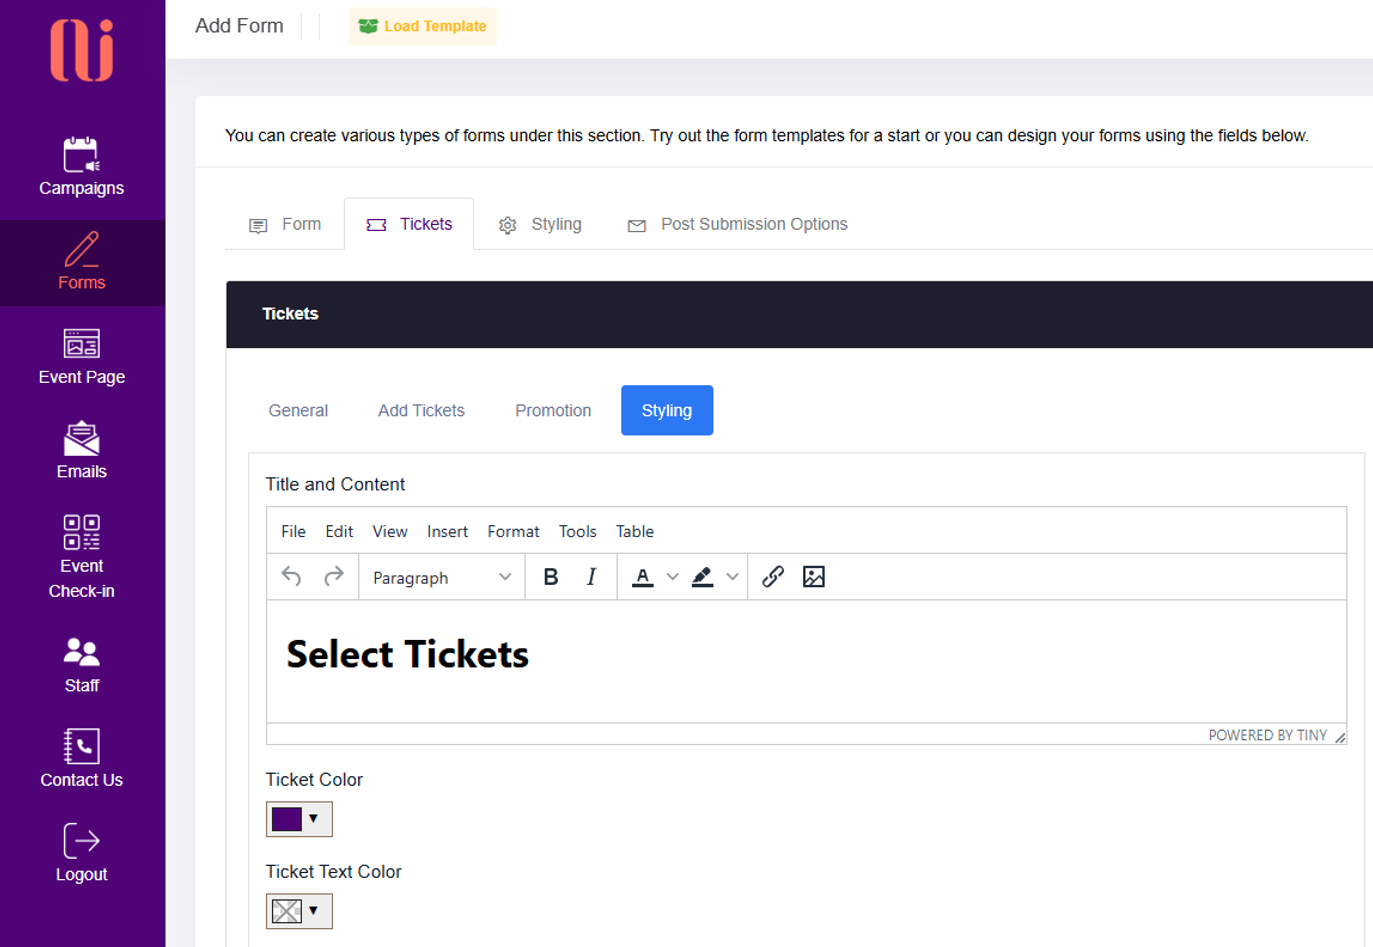
- Customise title, texts and images under Title and Content, which appears above the tickets.
- Set your default Ticket Colour and Ticket Text Colour.
- These styles will apply across all ticket types by default.
- For individual ticket styling, adjust colours within each ticket setup page.