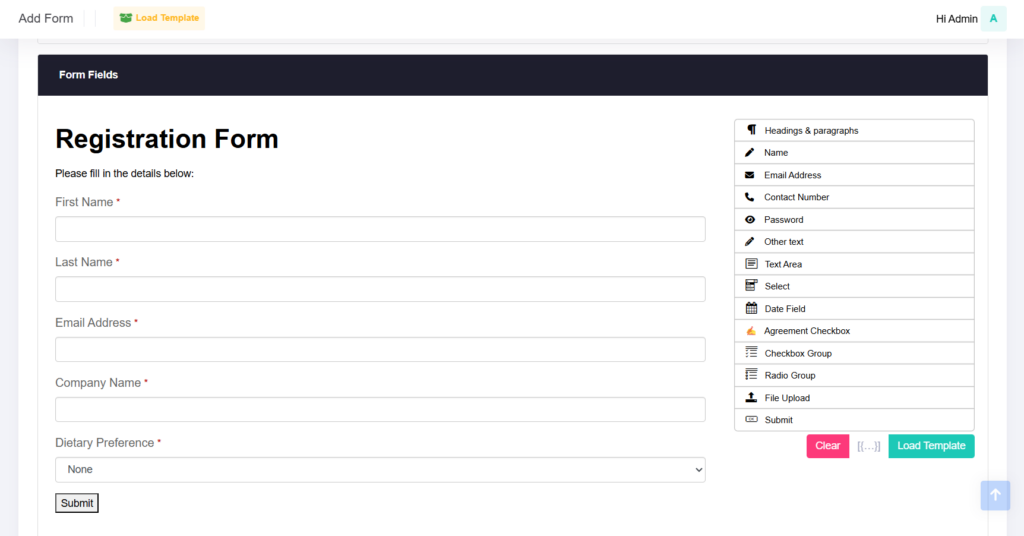
Build Your Form
Drag and drop fields to build your form. Choose from the following field types:
| Fields | Description |
|---|---|
| Headings & Paragraphs | Add headers, subheaders, and formatted text blocks using the rich-text editor. You can insert links, images, tables, and apply basic formatting to enhance readability. |
| Name | Collect attendee names using the following options:
|
| Email Address | Choose from two email field options:
|
| Contact Number | Collect mobile numbers, including country and area codes. |
| Password | Collect a password for attendees to log in to their event page (private event). |
| Other text | A standard, single-lined text field for short responses. |
| Text Area | Commonly used for attendees to provide details in longer texts or paragraphs (e.g. feedback, comments). You can specify a character limit for this field. |
| Select | Dropdown selection of options, which includes:
You can also customise your dropdown options and include “Others” for attendees to provide more details under “If others, please specify.” |
| Date Field | Attendees can input dates either by dropdown selection or using a calendar. To limit selection to a certain range, specify the minimum or maximum date under field settings. Passport Expiry Check: This feature checks the attendee’s passport expiry date against the event date. If the passport expiry date is less than six months from the event date, a pop-up reminder will appear upon form submission. |
| Agreement Checkbox | For attendees to give consent or acknowledge the terms and conditions by ticking a checkbox. |
| Checkbox Group | A collection of checkbox options allowing attendees to select or deselect options. You can specify a minimum or maximum number of selections. |
| File Upload | For attendees to upload file up to 10 MB in size. |
| Submit | The form submission button, with options for customising the text, font, weight, and colours. |
Form Templates
Form templates help you build forms faster by providing ready-made ones that you can customise to fit your event needs.
Generic Templates
Start with our standard templates. These can be modified fully—add, remove, or adjust fields to suit your requirements.
Custom Templates
Save your own forms as custom templates for easy reuse. When you’re happy with a form design:
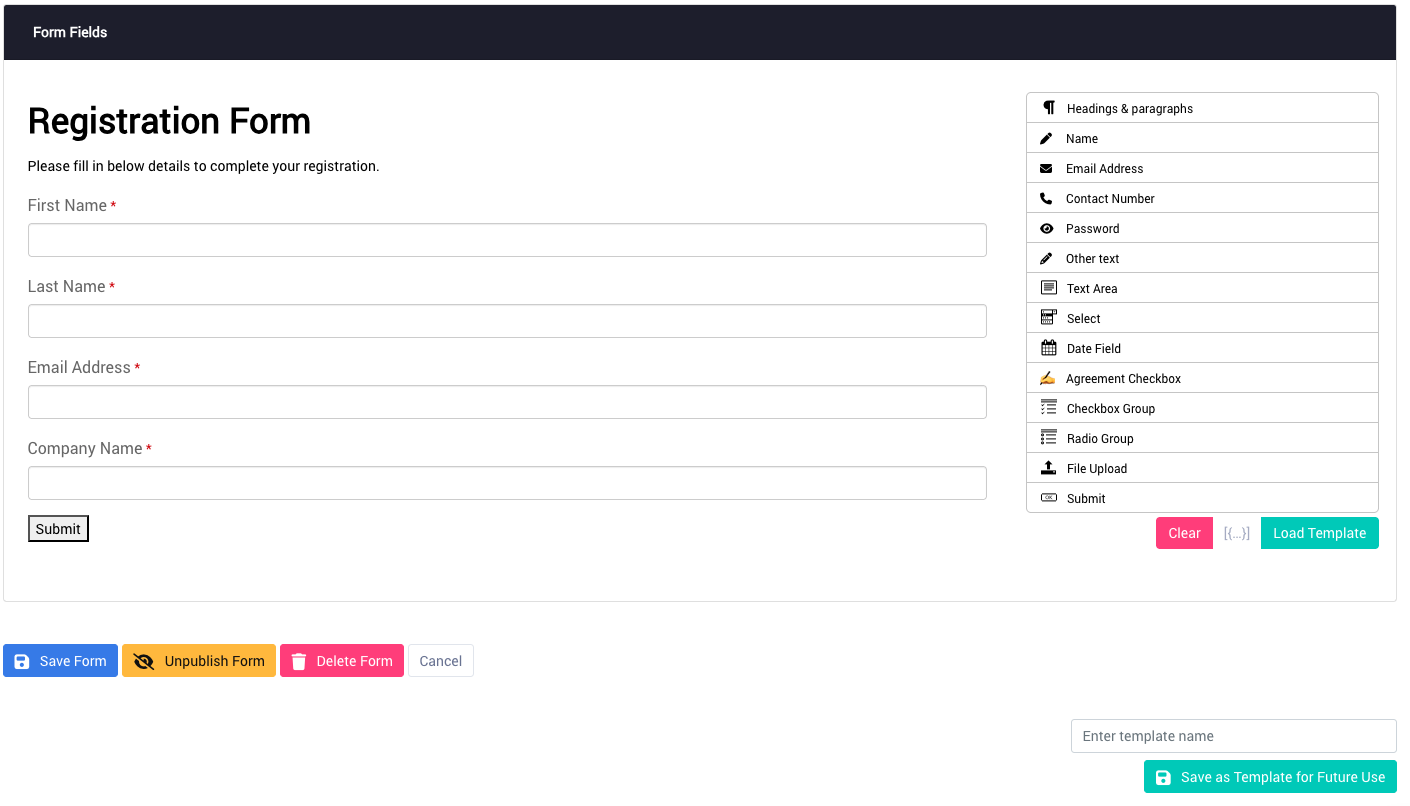
Click Save as template for future use at the bottom right of the form designer page.
You can access and edit your custom templates any time via Forms > Templates.
Load a Template
To use a template:
- In the form designer, click Load Template at the top.
- Choose your desired template.
- Be aware, loading a template will overwrite all current fields and settings on your form.
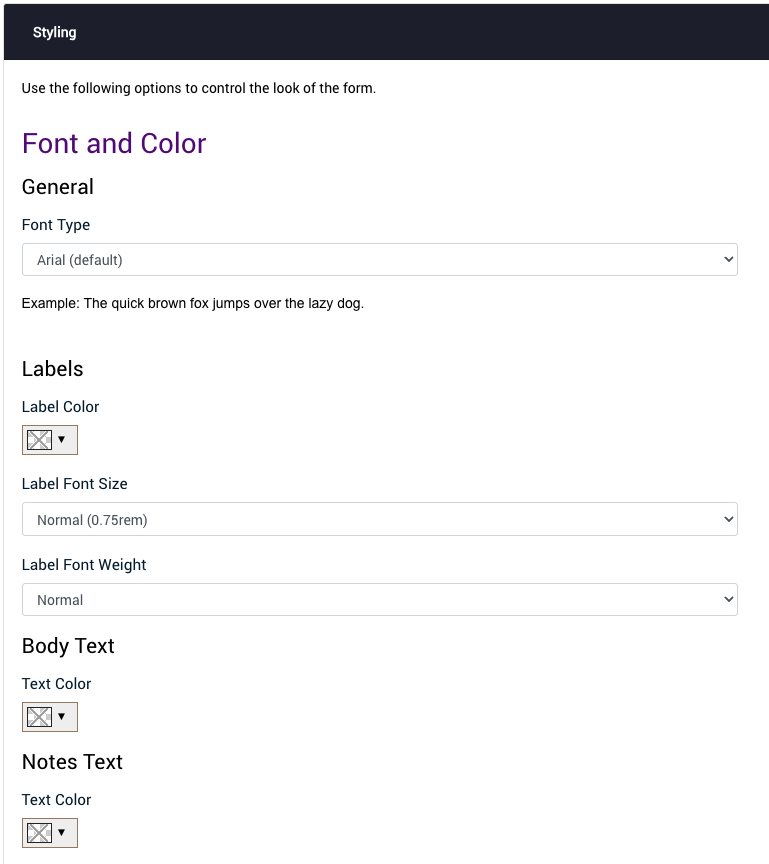
Styling
Make your forms feel truly yours with easy customisation options.
Fonts and Colours
- Choose a font that applies to all form text—including thank-you messages and post-submission emails.
- Customise colours for field labels, body text, and notes to match your brand.
Masthead and Background
- Upload a masthead image (minimum 800px wide). Supported formats: JPG, PNG, GIF. Max size 10 MB.
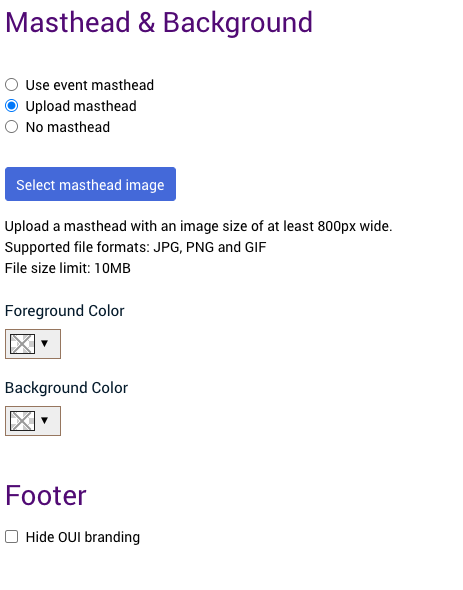
- Adjust foreground and background colours to set the tone of your form.
Footer
- You can replace OUI-branded footer with your own logo and branding by checking Hide OUI branding.
- Upload your company logo and style it via the rich-text editor.
Post-Submission Options
Control what happens once an attendee submits your form, ensuring a smooth and personalised experience.
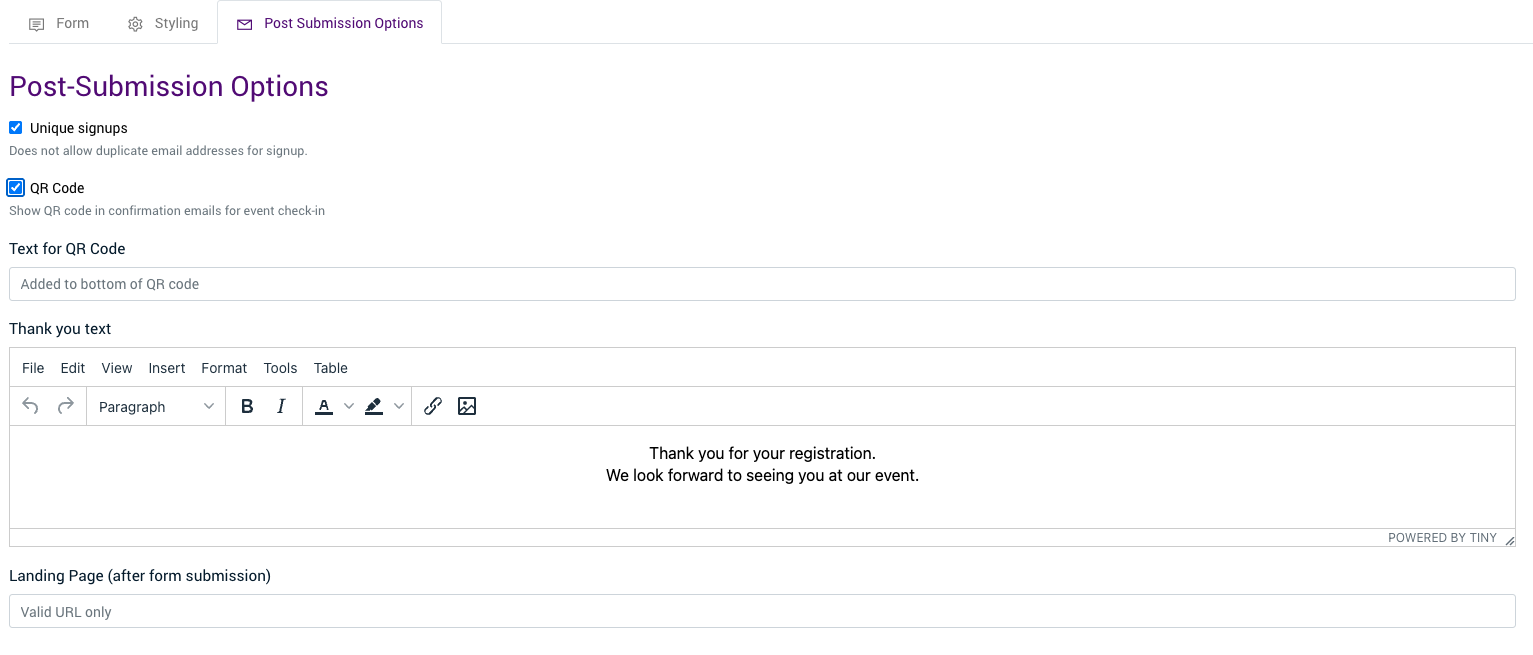
Unique Sign-ups
Prevent duplicate registrations by enabling this feature. Attendees can only register once using the same email address.
Note: This works only if the primary email address field is used in your form.
QR Code
Enable QR codes to be automatically generated and attached to confirmation emails for seamless event check-in.
Text for QR Code
Customise the text displayed below the QR code in the confirmation email to add clarity or branding.
Thank You Text
Write the message attendees see immediately after submitting the form.
Landing Page
Redirect attendees to a specific landing page after submission, for further engagement or next steps.
Email Options
Send personalised acknowledgment emails automatically to keep attendees informed and engaged.
Setting Up Acknowledgment Emails
Upon form submission, you can set up an acknowledgment email by selecting one of the following options:
- Send acknowledgment email to attendees
- Send acknowledgment email to campaign email address only
- Do not send any email
Note: Campaign email address is the email address indicated under campaign setup.
What’s included in the Acknowledgment Email?
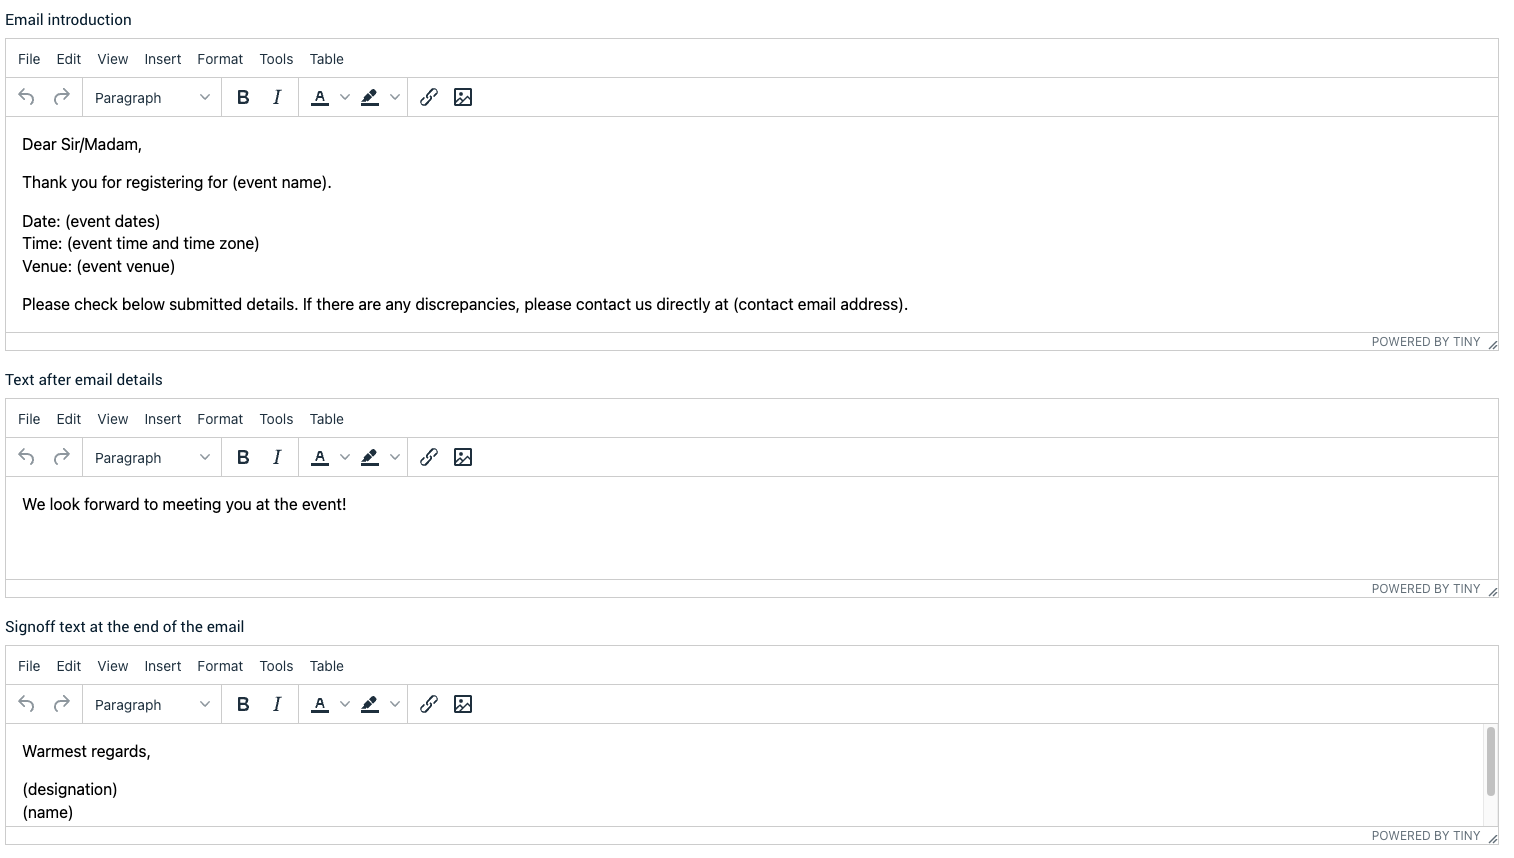
- Email introduction
- Form responses from the attendee and QR code (if enabled)
- Text after email details
- Sign-off text
Reports and Form Submissions
To download reports, go to Forms and click on Report icon. To edit form submissions, click on the View icon followed by the Edit icon to amend the specific submission.