Set Up Your Event Page
- Go to Event Page and select Add New.
- Enter an Event Page Name to title your page.
- The Event Page Code is auto-generated from the name but can be customised for branding or URL shortening.

Note: The code must be unique. If it is taken, the system appends “_X” where X is a number to ensure uniqueness.
Access & Permissions
Choose your event type:
- Public: Anyone with the URL can access the Event Page.
- Private: Access is restricted to invited attendees who log in using their registered email and password.
To enable attendees’ access, you can either:
- Connect to a database
Ensure the form includes fields for Primary email address and Password for login.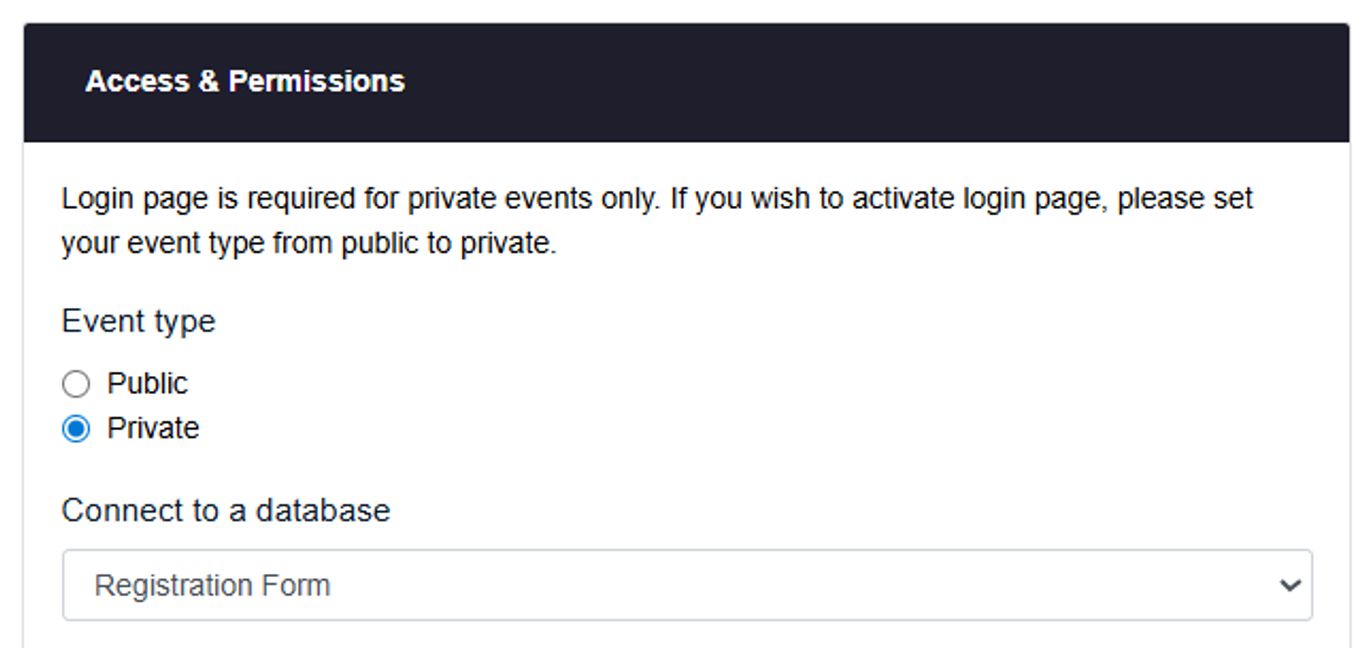
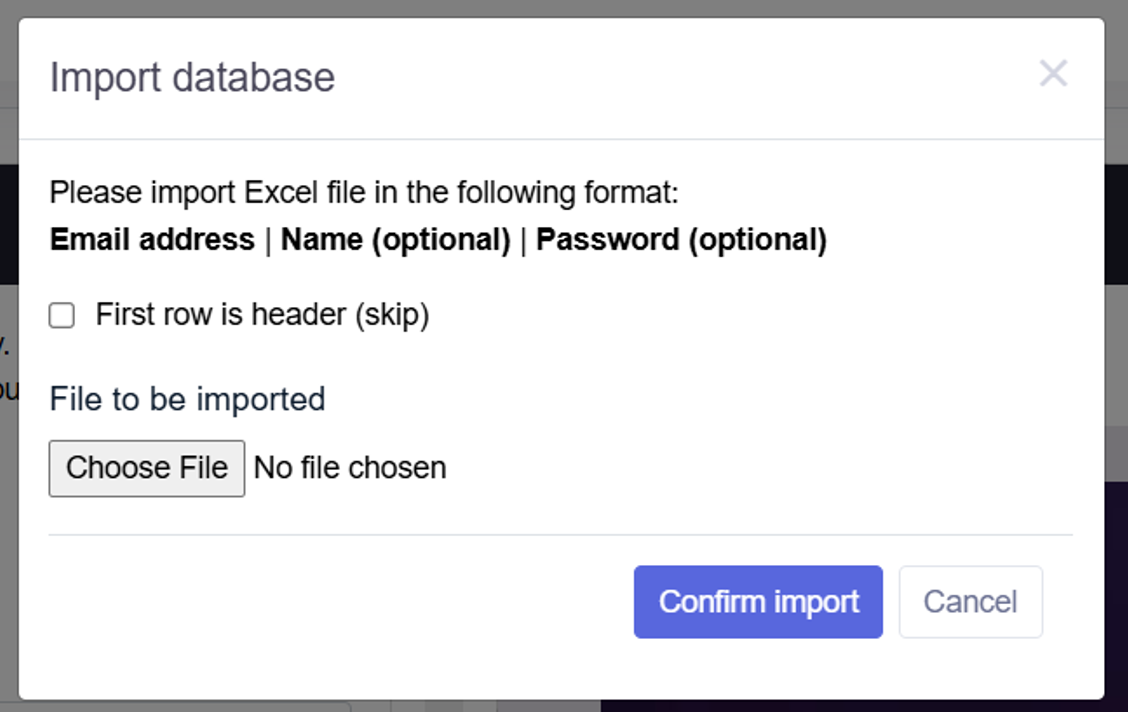
- Import new database
Select Import new database from the dropdown. Upload XLS, CSV, or XLSX files and organise the database by:
Email address | Name (optional) | Password (optional)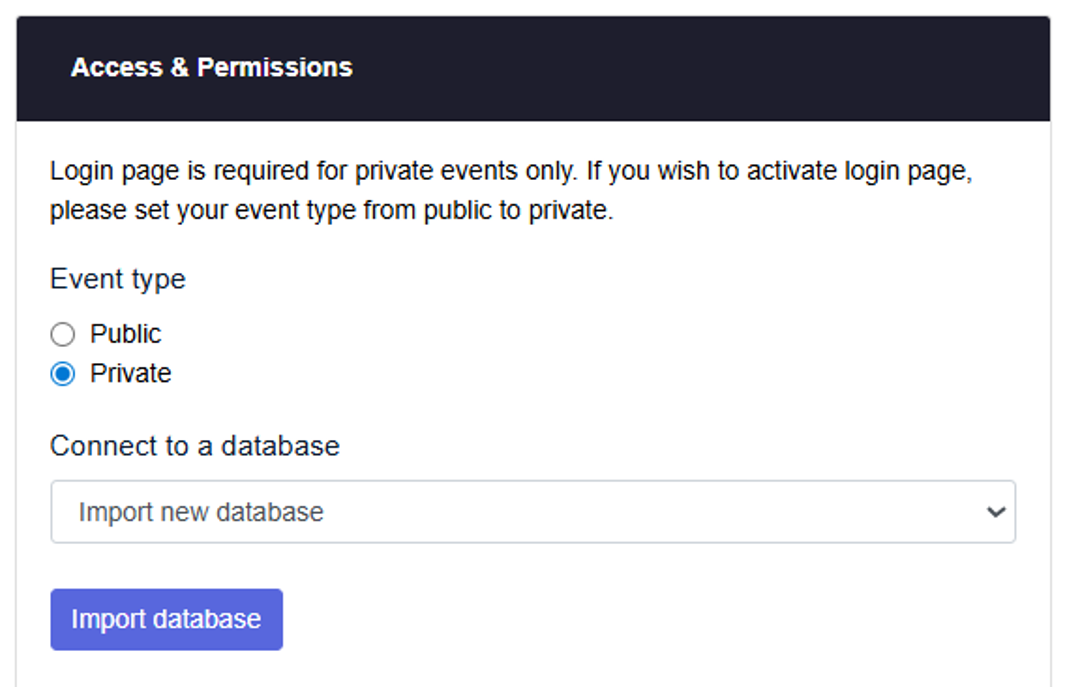
Password Recovery & Magic Login
Forget Password
- Attendees can reset their password via a link sent to their registered email.
Magic Login Link
- Send a one-time use link that grants access without a password. This link expires after 24 hours.
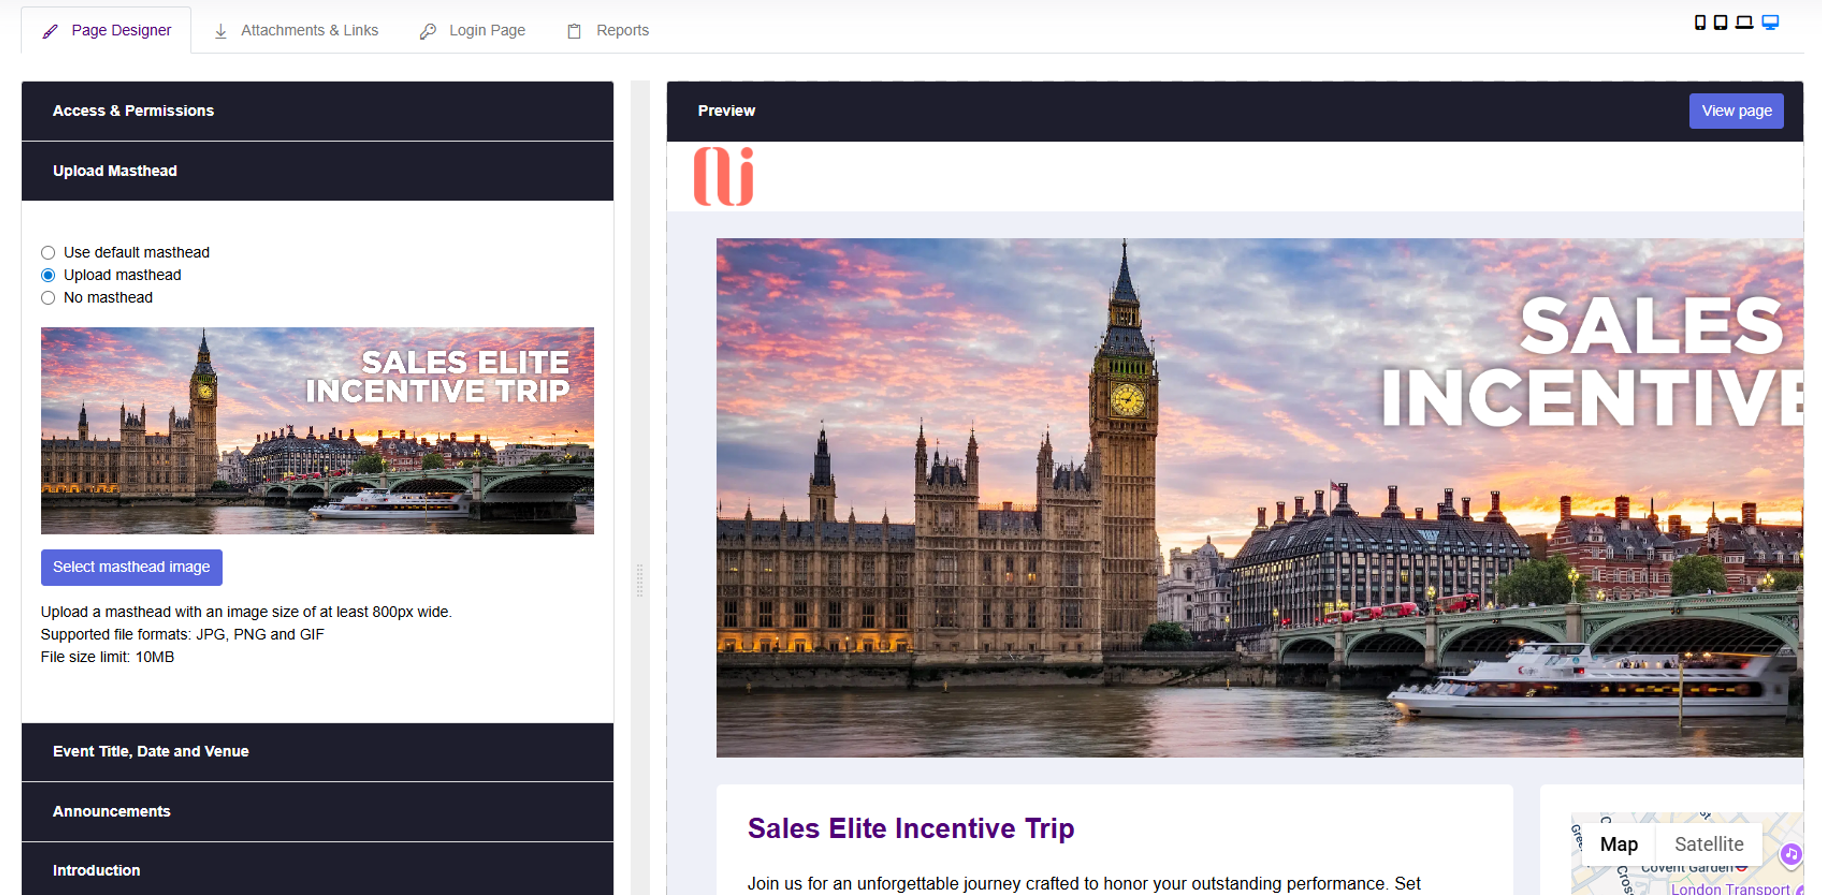
Design Your Event Page
Use the Page Designer to craft a tailored experience:
- Add and style text, images, and backgrounds with easy-to-use tools.
- Preview your page on mobile, tablet, and desktop to ensure a perfect fit across devices.
- Select View Page to see your live Event Page preview.
Upload Masthead
- Upload a masthead image at least 800px wide.
- Supported formats: JPG, PNG, GIF.
- Max file size: 10 MB
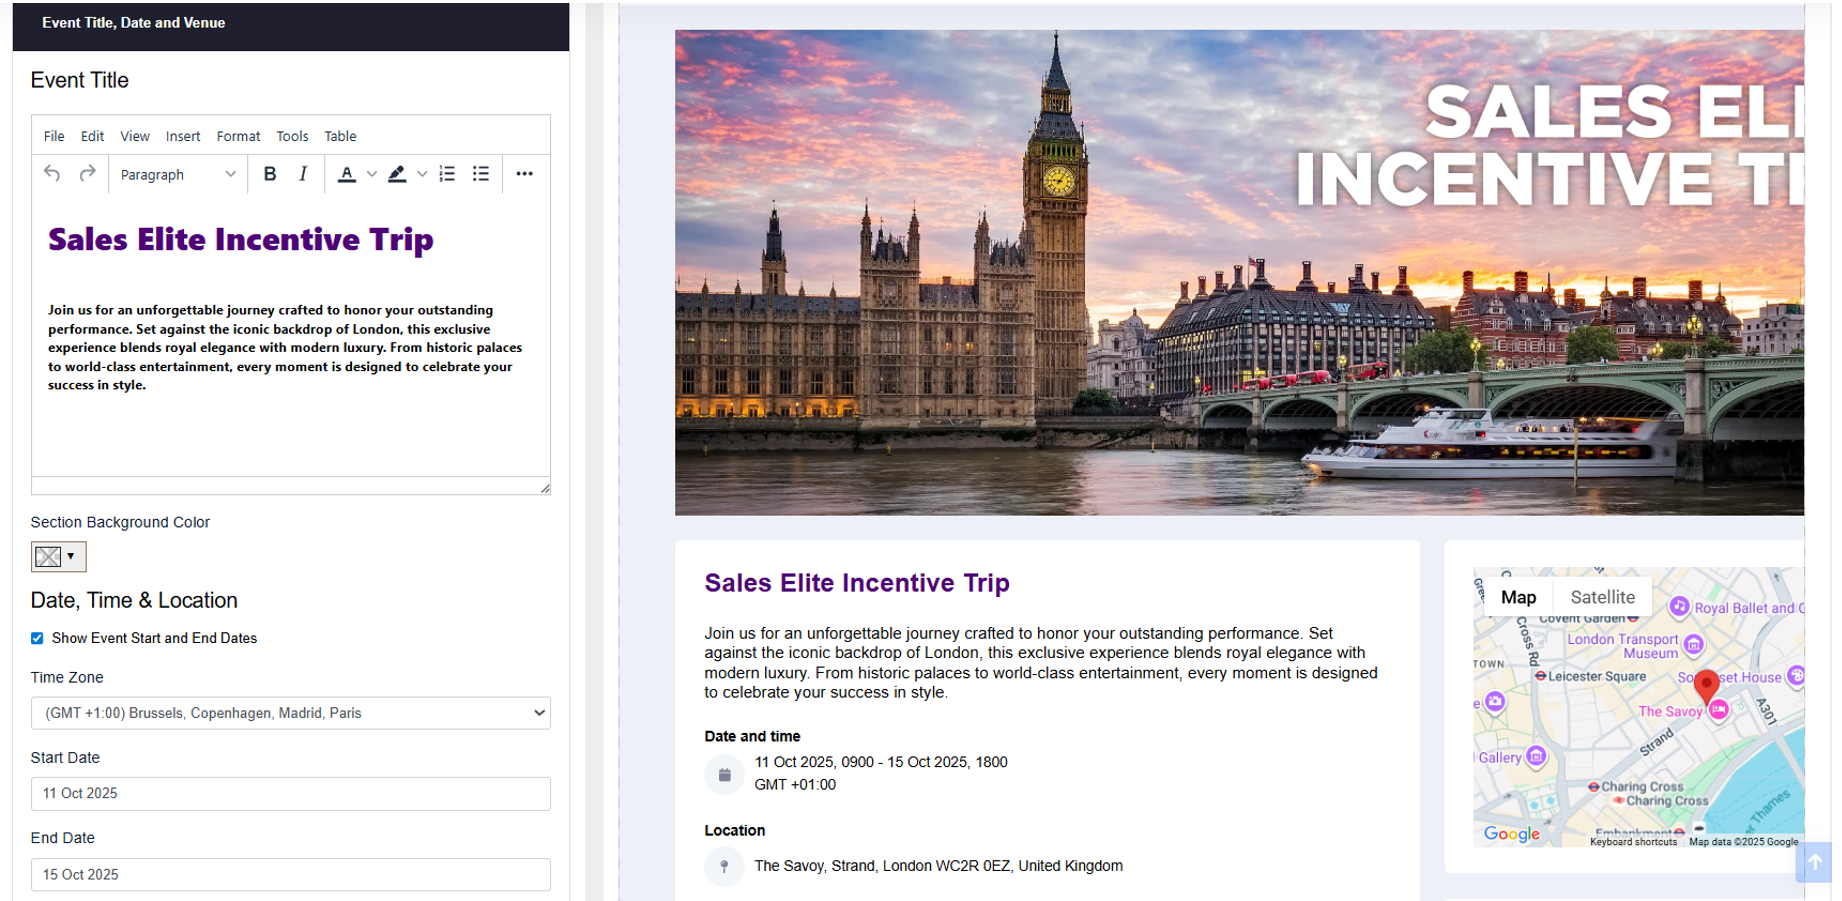
Event Title, Date, and Venue
- Fill in the Event Title (and include brief description), Date, and Location.
- If these details exist in your campaign setup, they’ll appear here automatically.
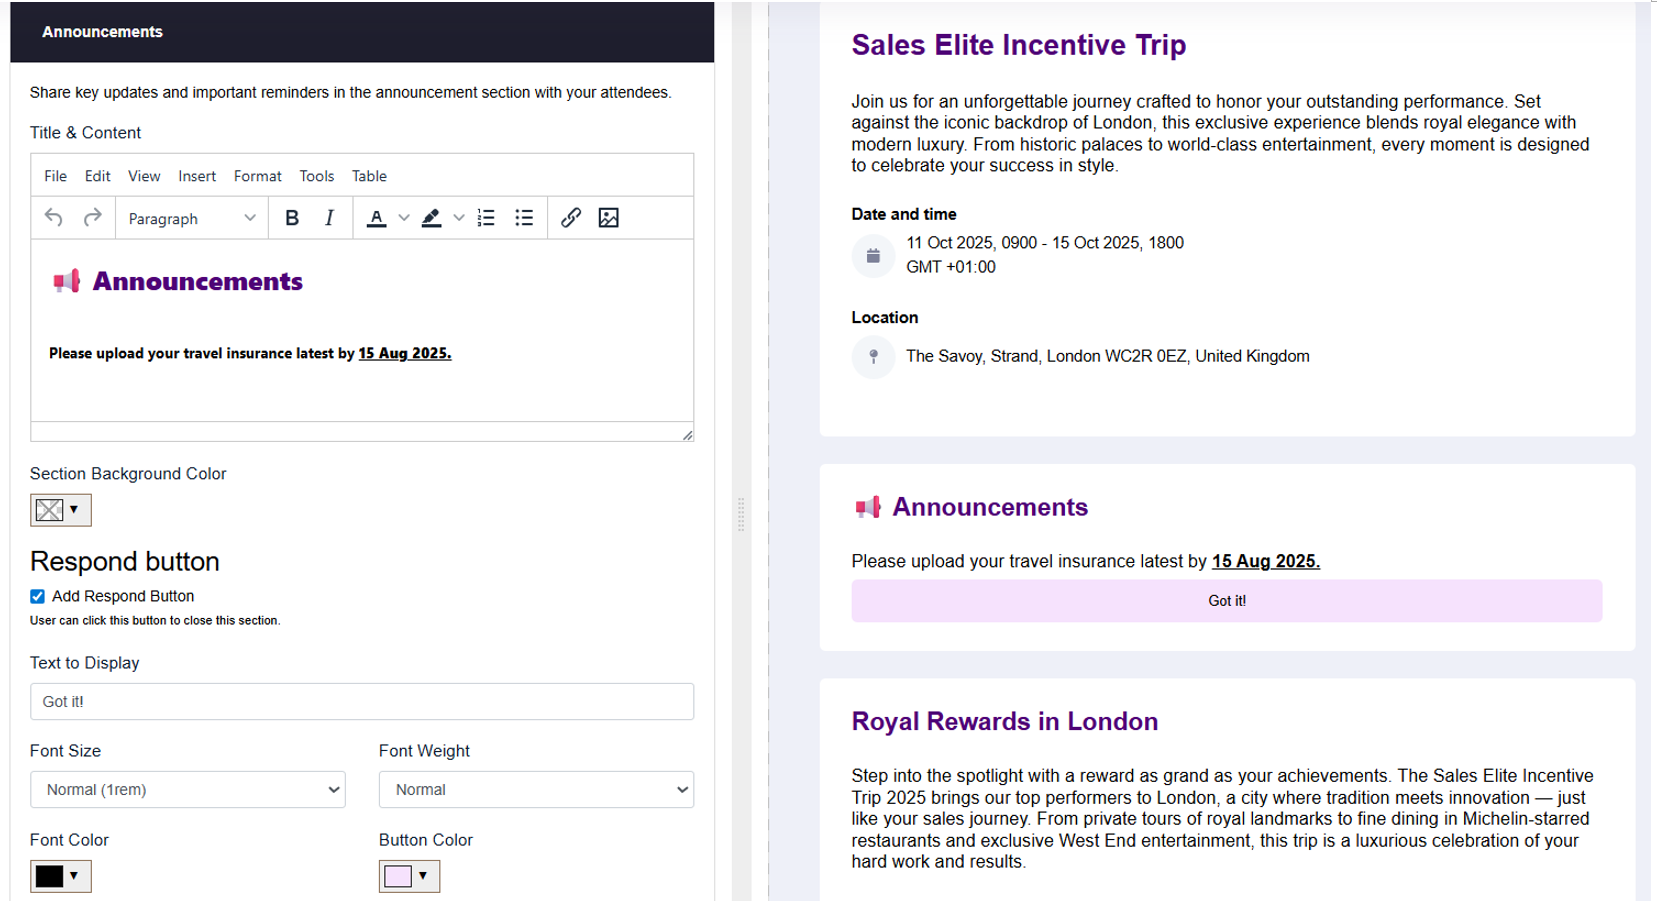
Announcements
- Share important updates and reminders.
- Add a Respond button for attendees to close the announcement section.
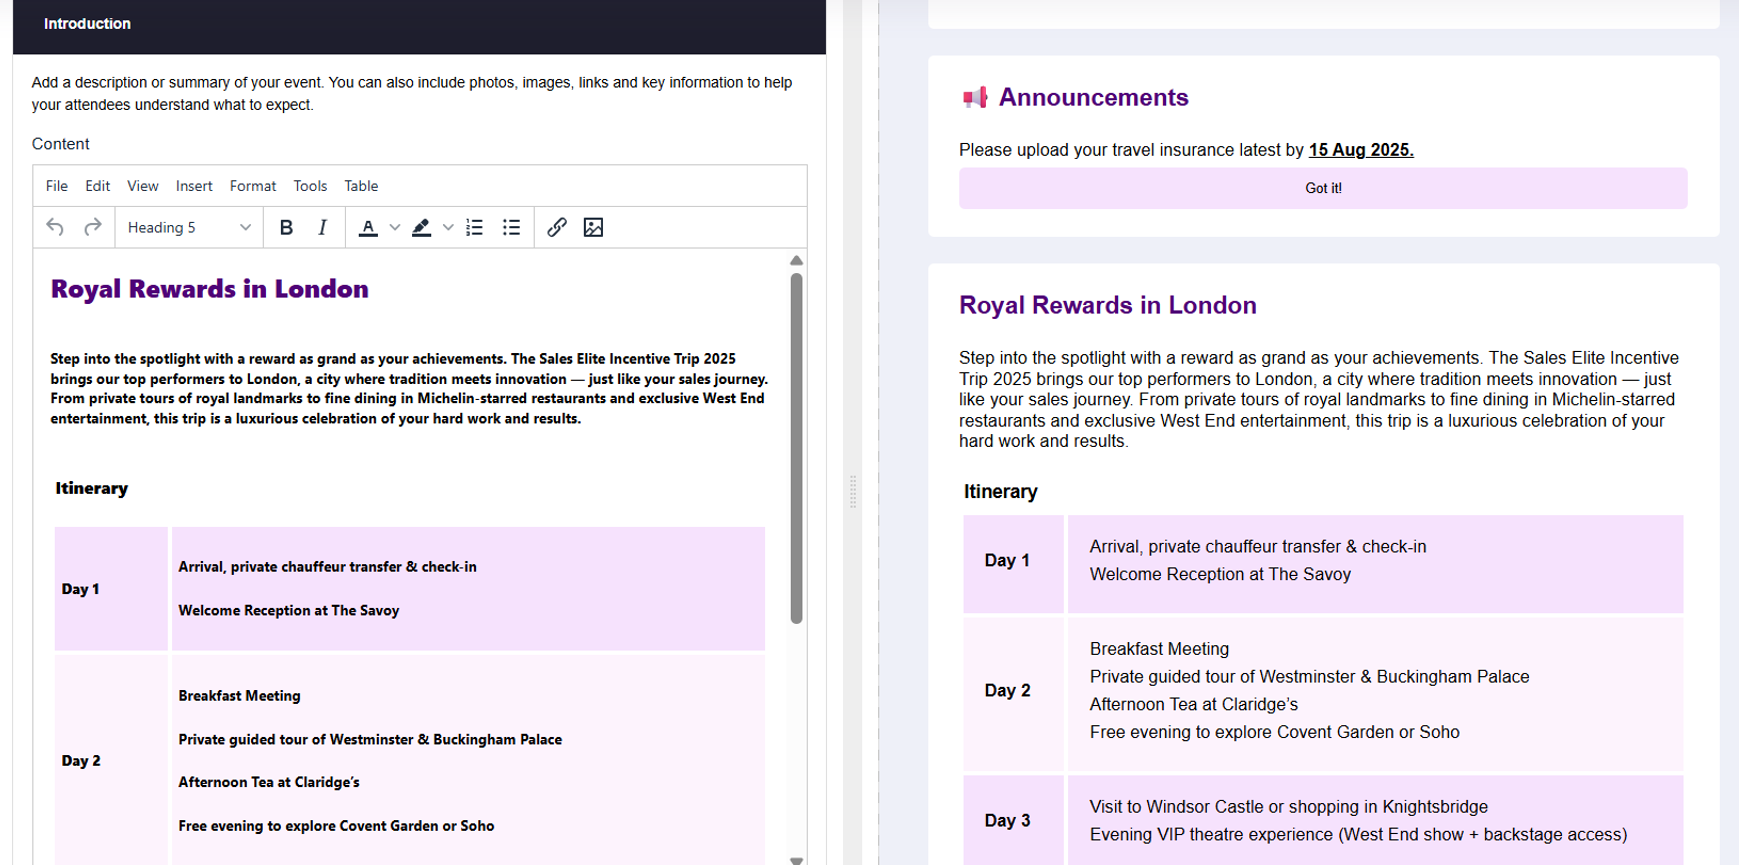
Introduction
- Write a compelling summary or description of your event.
- Include photos, links, and additional info to set attendee expectations.
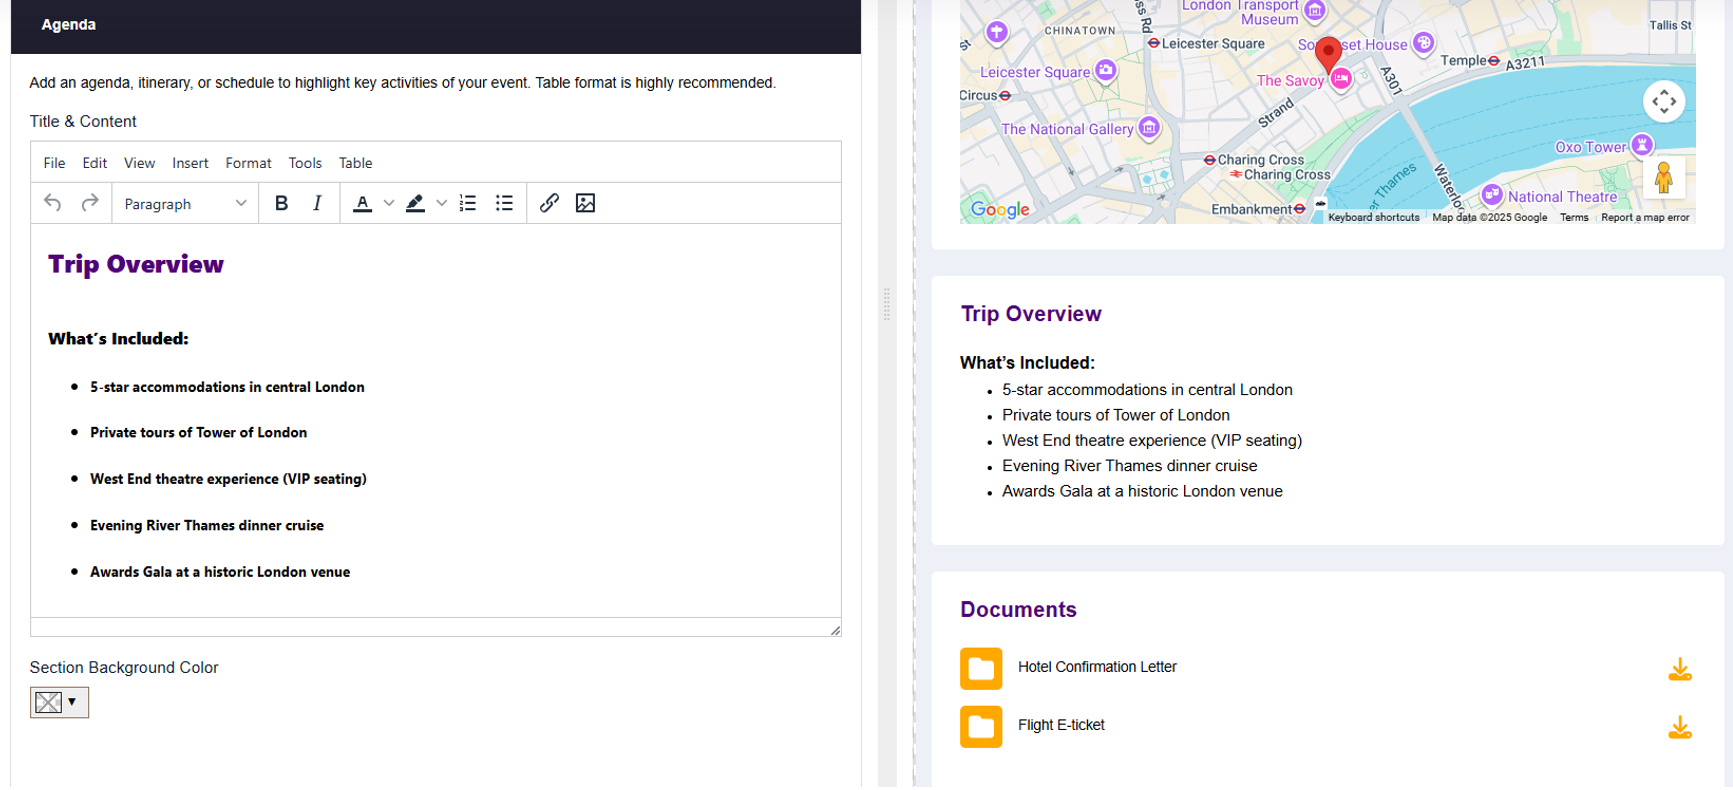
Agenda
- Outline your event’s schedule or itinerary.
- Tables work best to clearly present key activities and timings.
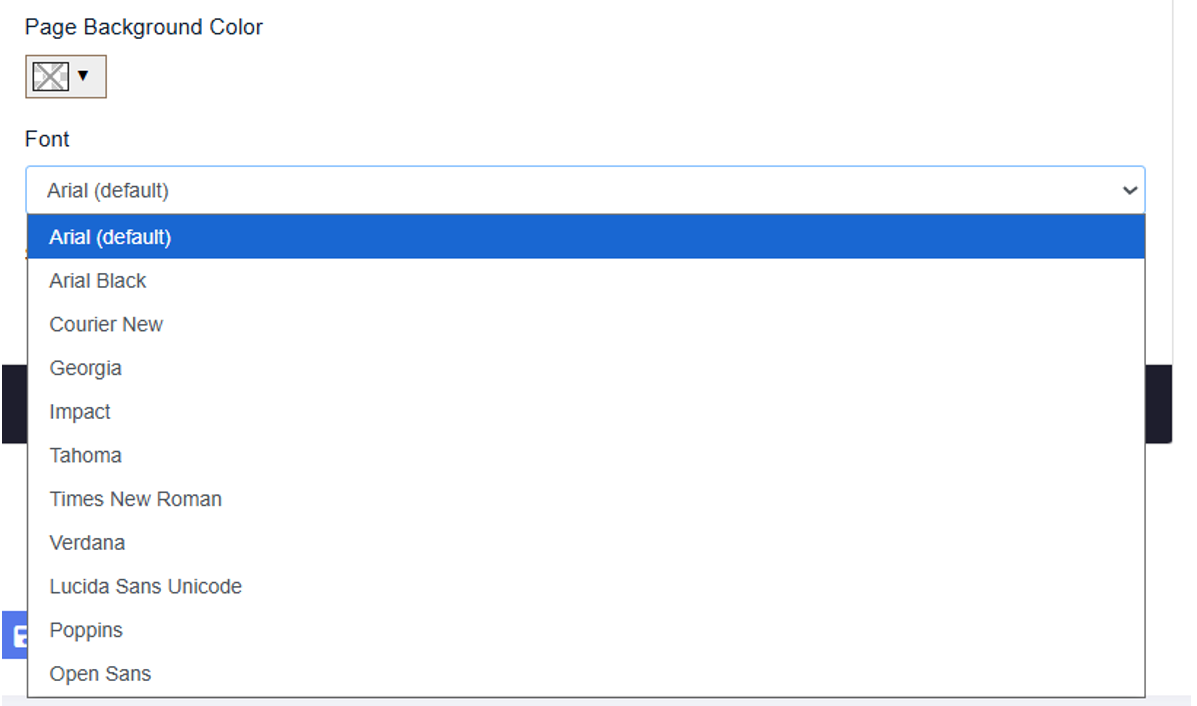
Page Background & Font
- Customise your Event Page background colour.
- Choose fonts that apply across the Event Page, login screens, and email auto-responses.
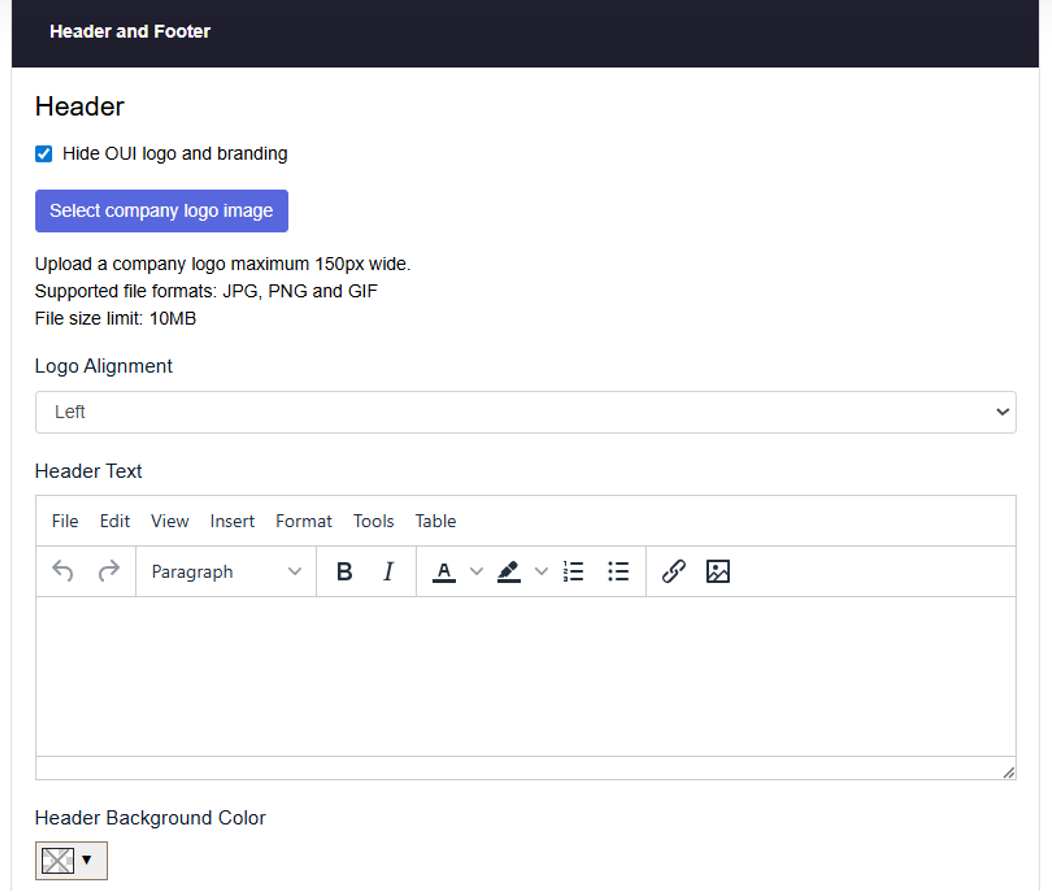
Header & Footer
- Personalise the header and footer for consistent branding.
- Remove OUI branding to fully white-label your Event Page with your logo and style.
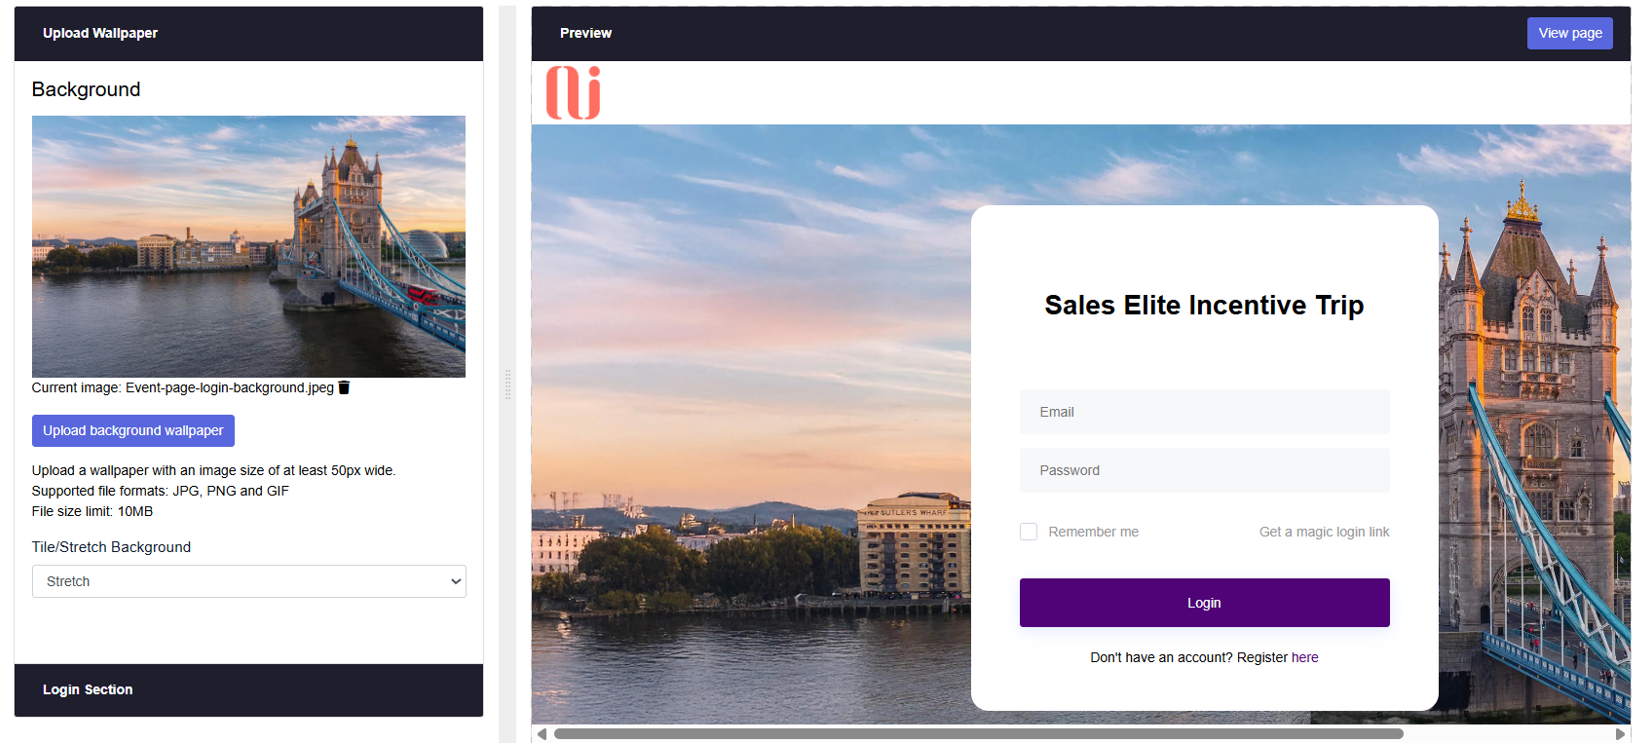
Login Page (Private Events Only)
Customise the login page:
- Change background wallpaper
- Customise login section such as background colour, login button, texts, and logo
Attachments & Links
Share essential files and links with attendees:
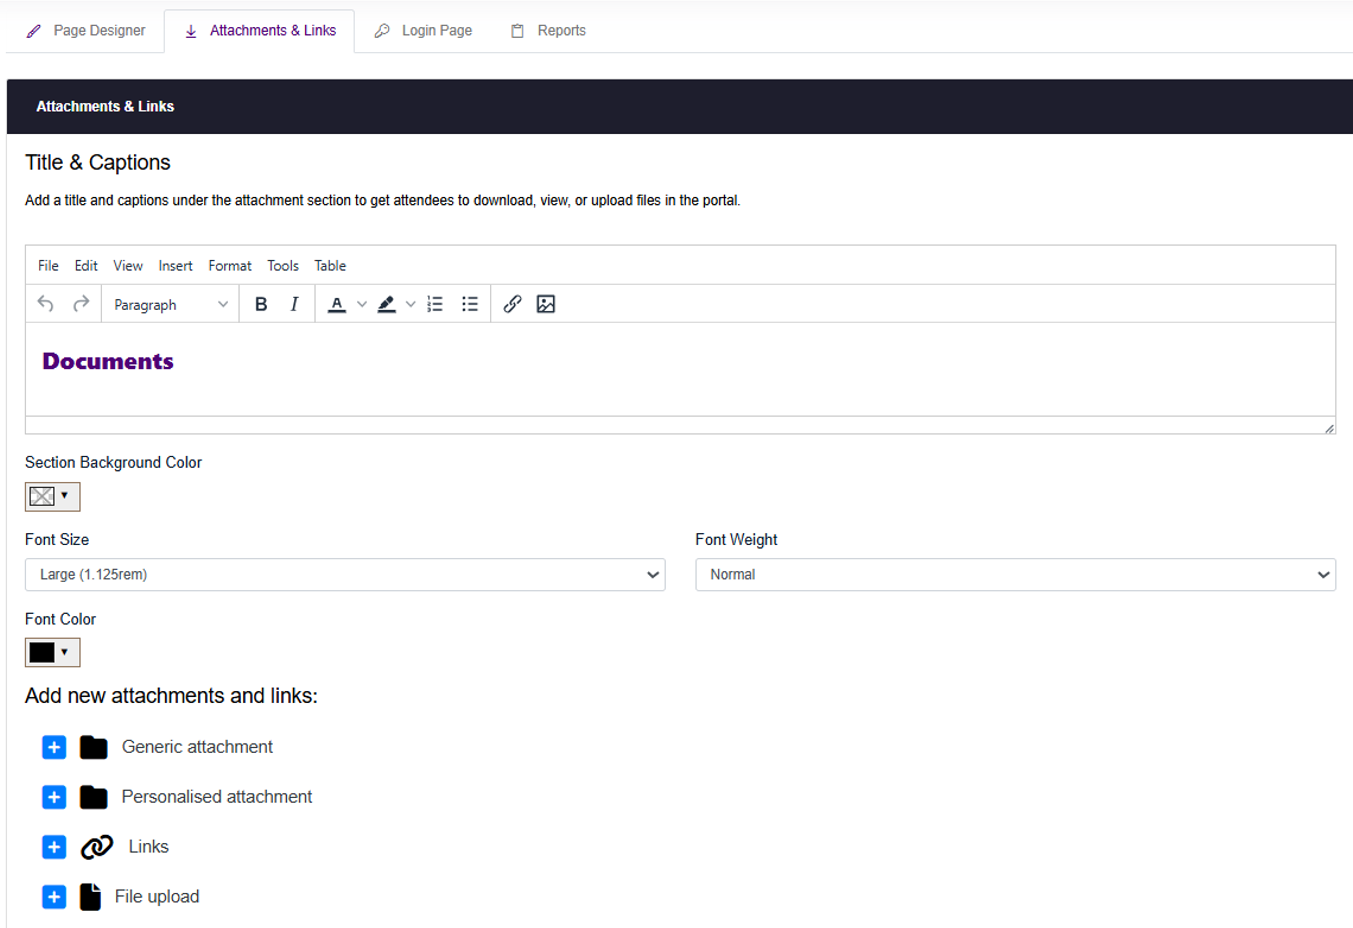
- Generic Attachments
Available to all attendees (e.g., agendas, brochures). - Personalised Attachments (Private Events)
Specific to individual attendees (e.g., flight e-tickets). - Links
Direct attendees to websites or download content larger than 10 MB from link. - File Upload (Private Events)
Allow attendees to upload documents such as passports or signed forms. Uploaded files can be retrieved under Reports.Note: Uploading a new file replaces the previous one.
Attachment Features (Private Events)
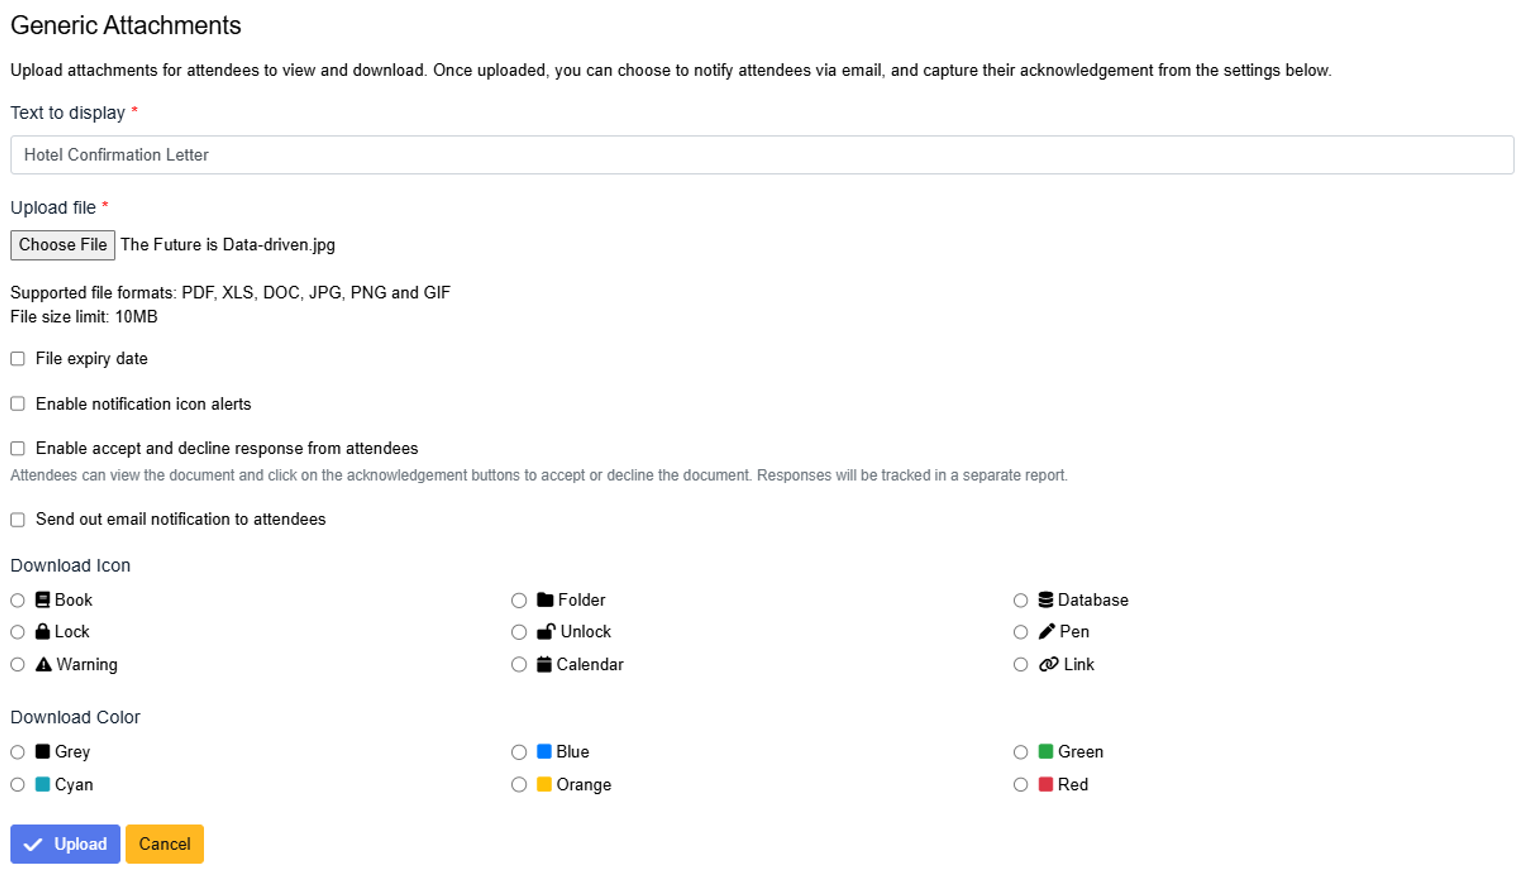
- Send email notifications when new attachments are uploaded.
- Enable Accept or Decline options for attendees to respond.
- Track responses and access reports.
- Set expiry dates to restrict access after a certain time.
Note: Public events have limited attachment features without notifications or tracking.
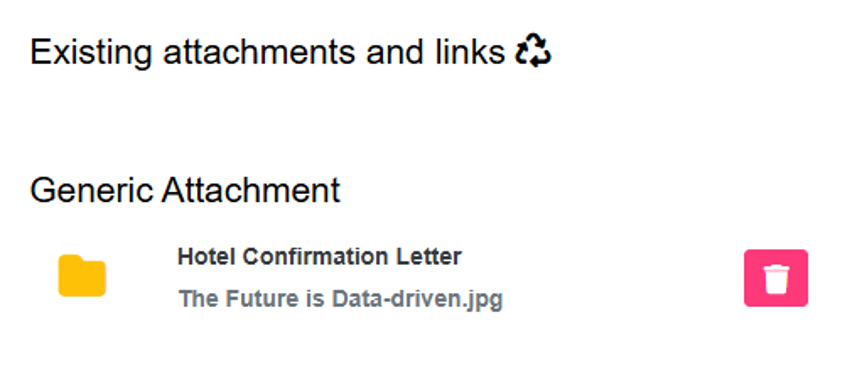
Delete Attachments & Links
- To remove an attachment or link, click the delete icon beside it.
- This action deletes all related records and reports permanently.
Reports (Private Events Only)
Track attendee engagement and activity:
- Registered Date: When an attendee completed registration or when their data was imported.
- Last Login Date: The last time an attendee accessed the Event Page.
- View or export reports on attachments, links, and responses in Excel format.