Archive or Delete a Campaign
Keep your dashboard organised by archiving campaigns you no longer need.
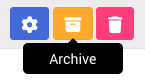
To archive a campaign:
- Go to Campaigns
- Under the Manage column, click Archive
Archived campaigns are read-only and you will not be able to add or edit sections like forms or landing pages.
To unarchive:
- Go to the Archived tab
- Click Unarchive
Note: Archiving and deletion of campaign is available for Annual plan only. For pay-per-event users, campaigns will be automatically archived once the access period ends. Deleting a campaign is permanent. If you delete a campaign, it will move to the Deleted tab and cannot be restored.
Invite Collaborators
Add team members to help build your campaign safely and efficiently.
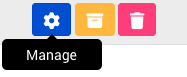
To invite collaborators:
- Click the Manage icon next to your campaign.
- Under Collaborators, choose a user from the dropdown list to add as collaborator.
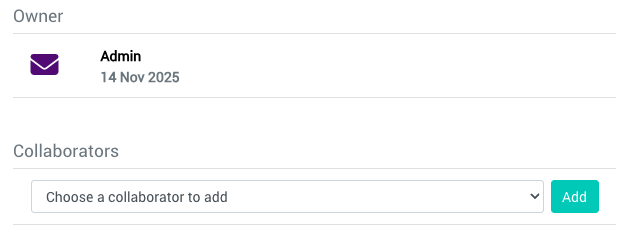
- Click Add
Access to campaign content and data is based on their assigned role—see Roles & Permissions for full details.